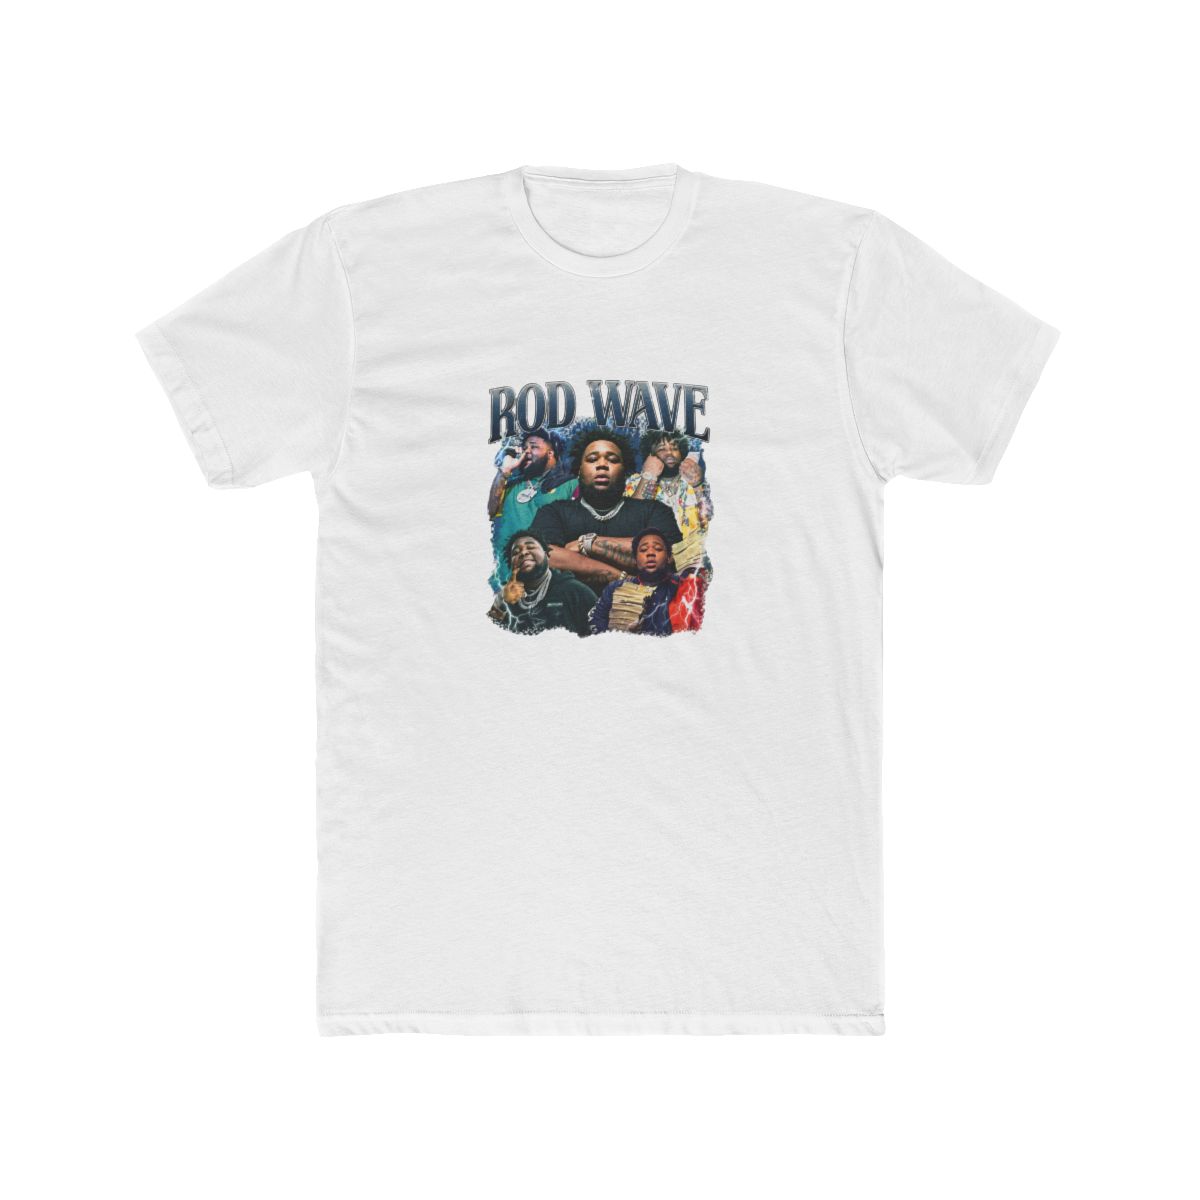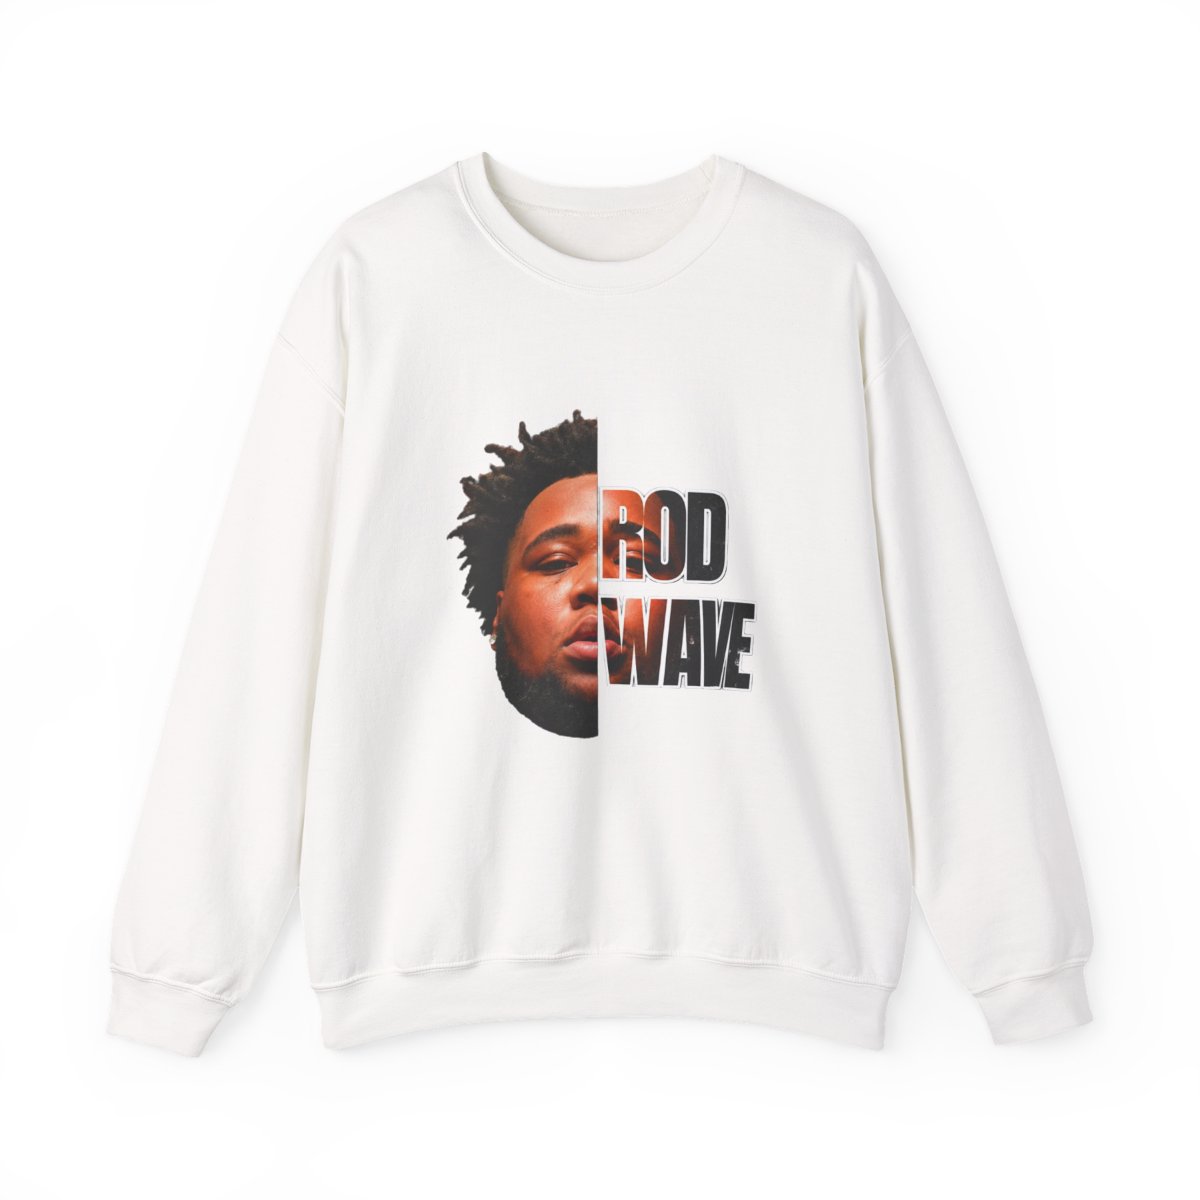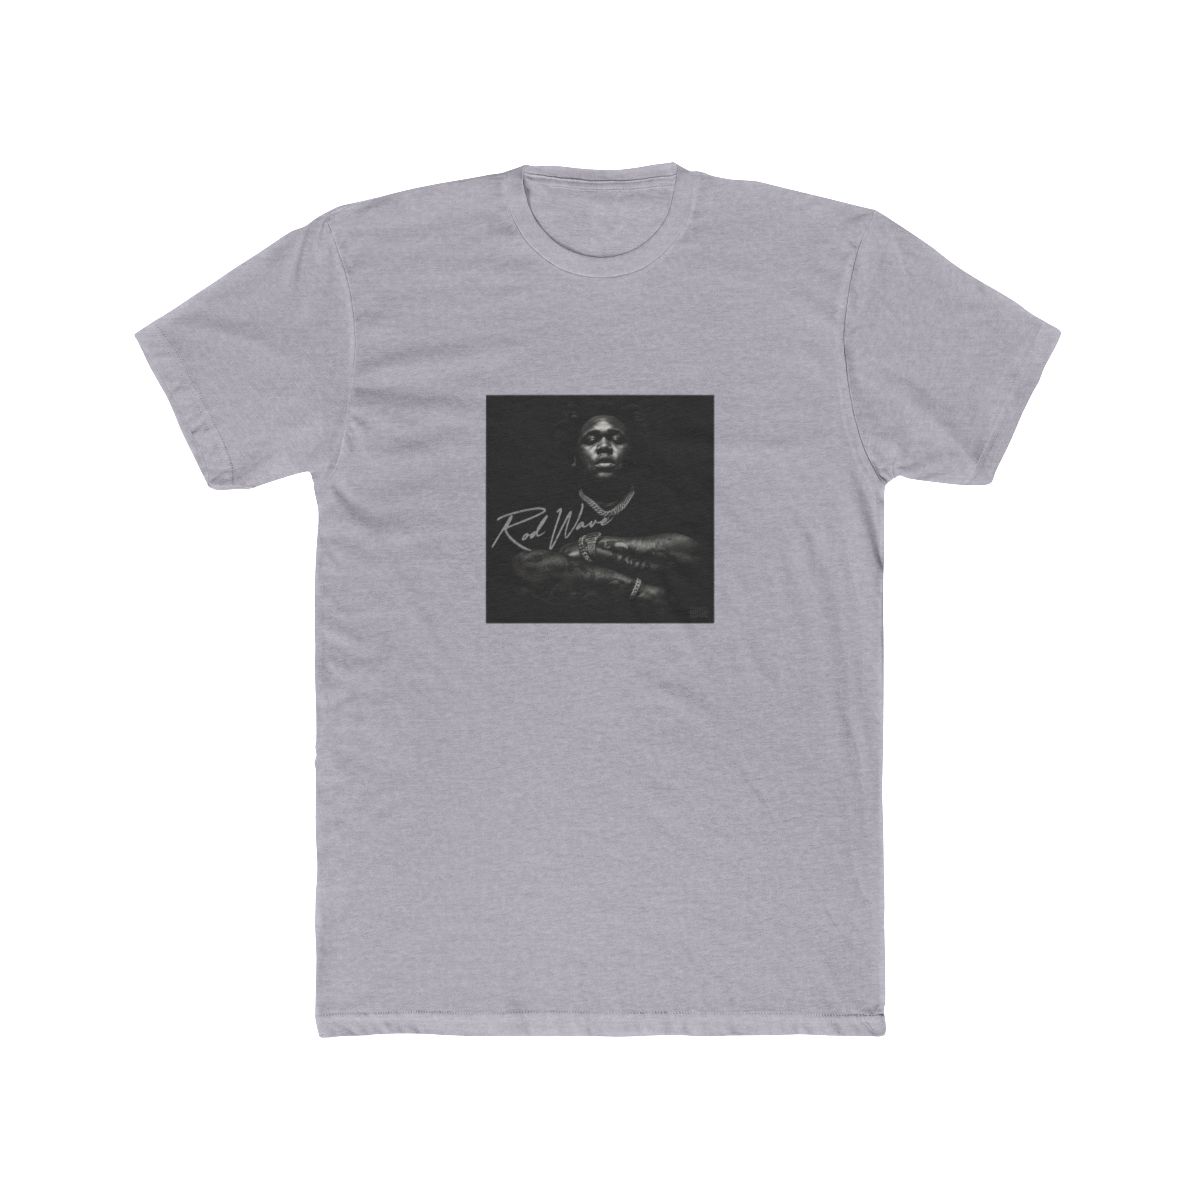
I still remember the first Rod Wave hoodie I customized. It was a black SoulFly pullover from the 2021 tour, and I used fabric paint to trace the album cover across the back. The result felt like a one-of-one piece, even though a hundred other fans had the same base hoodie. That experience taught me that merch is personal, and rod wave hoodie customization ideas are the way to make it yours. Here are 10 DIY approaches to refresh your hoodie in 2026, based on what I've learned as a merch designer and print specialist.
← Back to Blog
Rod Wave Hoodie Customization: 10 DIY Ideas for 2026
Make your Rod Wave merch one-of-a-kind with these DIY customization ideas. From iron-on patches to bleach dye, these techniques will refresh your hoodie for 2026.
Why Customize Your Rod Wave Hoodie
Concerts and online drops create identical hoodies. Customizing turns yours into a conversation starter. It also gives new life to a hoodie you've worn for years, especially if the print started cracking or the color faded.
More than that, it's about showing your connection to the music. When you add a lyric that hit you or reference a specific era like "Beautiful Mind" or "Nostalgia," you're wearing a piece of your own story. I've customized hoodies for friends, and the ones that feel most authentic always include details that mean something to the wearer.
Before you start, consider the base hoodie. The best candidates are 100% cotton or a cotton-poly blend. Cotton absorbs paint and bleach evenly, while poly blends can react unpredictably. If you're unsure, test a small patch inside the hem first.
What You'll Need
- Fabric paint or fabric markers
- Iron-on patches or appliqués
- Bleach and a spray bottle (or a bucket for dip dye)
- Painter's tape or stencils
- Cardboard to place inside the hoodie
- An iron or heat press
Simple Iron-On Patches and Appliqués
Iron-on patches are the easiest way to customize without any drawing skills. You can find embroidered letters, music notes, or even custom patches printed with Rod Wave's logo or album art. Etsy and local craft stores are great sources.
I've found that mixing textures works best. Pair a soft embroidered patch with a smooth woven patch. Or layer a small patch over a larger one for depth. For example, stitch a tiny "Last Lap" car patch onto the pocket, then place a big SoulFly owl patch on the back.
How to Apply Iron-On Patches
1. Pre-heat your iron to the highest setting without steam. 2. Place cardboard inside the hoodie to keep the back layer from sticking. 3. Position the patch firmly, then press with the iron for 15-20 seconds. 4. Flip the hoodie and press the inside for another 10 seconds. 5. Let it cool completely before moving the hoodie.
But here's what most people miss: if your hoodie has a fleece or textured lining, a standard iron-on might not bond permanently. In that case, add a few hand stitches around the edges. It takes five minutes and makes the patch survive washes.
Patch Placement Ideas
The classic spot is the chest, about 3 inches below the collar. Center it or angle it slightly. You can also stack patches along the sleeve from shoulder to cuff, or cover a worn hem with a row of small patches. For a subtle look, put one on the back collar at the neckline.
Paint, Bleach, and Fabric Dye Techniques
If you're ready to get your hands messy, paint and bleach offer more creative freedom. Fabric paint dries flexible and won't crack if you apply it thinly. Paint markers work well for fine lines and lettering. I've used Posca markers for years; they're reliable on cotton.
Bleach is trickier but rewarding. A 50/50 bleach-water solution creates an orange-brown reverse on black hoodies, while full-strength bleach gives a brighter yellow. Test on a scrap cloth first. For tie-dye patterns, use rubber bands to create rings or use a spray bottle for an ombré effect.
Hand-Painting a Lyric or Portrait
1. Wash and dry the hoodie without fabric softener - it leaves a residue. 2. Slide a piece of cardboard inside so paint doesn't bleed through. 3. Sketch lightly with a pencil or chalk. 4. Apply fabric paint with a brush, using thin coats. Wait 10 minutes between layers. 5. Let it dry for 24 hours, then iron over parchment paper to heat set.
A popular design in the fan community is the lyric "I've been going through some things" written in a handwritten-style font down the sleeve. You can trace a printed quote by placing a paper inside the hoodie and holding it up to a bright window.
Bleach Techniques for Black Hoodies
Bleach dye works best on 100% cotton. Do not use it on polyester blends - the bleach can break down the fibers and create holes. For a controlled fade, spray bleach onto the hoodie and let it sit for 10-15 minutes. Rinse immediately with cold water and wash with a mild detergent.
If you want a pattern, use painter's tape to mask off areas you want to stay black. This lets you create stripes, geometric shapes, or even spell out a word in unbleached letters. I've seen fans make a stencil of "LW3" or "SoulFly" and blast bleach over it for a sharp contrast.
Dip Dye and Fabric Dye
Fabric dye adds color instead of removing it. Rit dye in a bucket can transform the lower half of a hoodie into a gradient. For example, dip the bottom two inches into a deep blue dye to mimic the ocean-themed "Nostalgia" aesthetic. Then let the hoodie hang dry - the dried edges create a natural ombré.
Caring for Your Customized Hoodie
Customized hoodies need extra love. Wash inside out with cold water. Heat and friction from the dryer cause the biggest wear, so line dry or tumble on low. Avoid bleach-based detergents on painted designs, as chlorine can fade the colors.
For painted areas, don't iron directly over them. Use a pressing cloth or iron the inside. If you applied patches, check the edges after the first few washes - loose stitches are easy to fix before a patch peels.
That's also a good time to touch up paint. I keep a black fabric marker on hand for small scratches, and it's amazing how one quick swipe can restore the design.
Key Takeaways
- Start with a cotton or cotton-blend hoodie for the best results.
- Iron-on patches are beginner-friendly and can be secured with hand stitches.
- Fabric paint and bleach offer more customization options but require testing first.
- Always heat set paint and wash inside out to protect your work.
- Your Hoodie should reflect your favorite Rod Wave lyrics and moments.
Frequently Asked Questions
What type of fabric paint should I use on a Rod Wave hoodie?
Use acrylic-based fabric paint, which dries flexible and won't crack as much as standard acrylic. Brands like Tulip and Jacquard work well. For fine lines, fabric markers like Posca are a solid choice. Always heat set with an iron after the paint dries.Can I bleach a black Rod Wave hoodie?
Yes, but only if the hoodie is 100% cotton or mostly cotton. A 50/50 bleach-water solution creates a lighter brown, while full-strength bleach gives a vivid yellow. Rinse with cold water immediately and wash alone to avoid damaging other fabrics. Test on a hidden spot first.How do I make my customized design last through washes?
Wash inside out in cold water, use a mild detergent, and skip the dryer - air drying or low heat protects the design. For hand-painted areas, avoid ironing directly over the design; use a pressing cloth or iron the back. Reinforce patch edges with a few hand stitches.Where can I buy patches to customize my Rod Wave hoodie?
Etsy is the best place, with hundreds of sellers offering Rod Wave-inspired patches, custom logo pins, and lyric embroidery. You can also find blank embroidered music notes at craft stores. For a fully custom patch, use an online service that prints from your own image.Is it okay to cut or crop my Rod Wave hoodie?
Absolutely. Many fans crop hoodies into boxy cuts or make them into tank tops. If you crop the bottom hem, the raw edge might not fray if you leave it clean or roll it up. For a clean look, hem that edge with a sewing machine or fabric glue.
Related Posts
Merch
Rod Wave Dorm Decor and Must-Have Merch for 2026
Transform your dorm room with Rod Wave-inspired decor for 2026. From posters and pillows to desk acc...
MerchRod Wave Game Day Gear 2026 Best Picks for Fans
From hoodies to tees, find the best Rod Wave game day gear for the 2026 season. Get styling tips for...
MerchRod Wave Limited Edition Merch 2026: What to Know
Rod Wave's 2026 limited edition merch drops are rare and valuable. Learn how to spot authentic piece...
Shop Rod Wave Merch
Official merchandise — premium quality, designed for the community.